
Ever wondered how to spruce up your space with cool wall lights without breaking the bank or your landlord’s rules? Enter the DIY wall sconce! Let’s dive into this game-changing lighting solution that’s perfect for renters and DIY lovers alike.
What’s a Wall Sconce, and Why Should You Care?
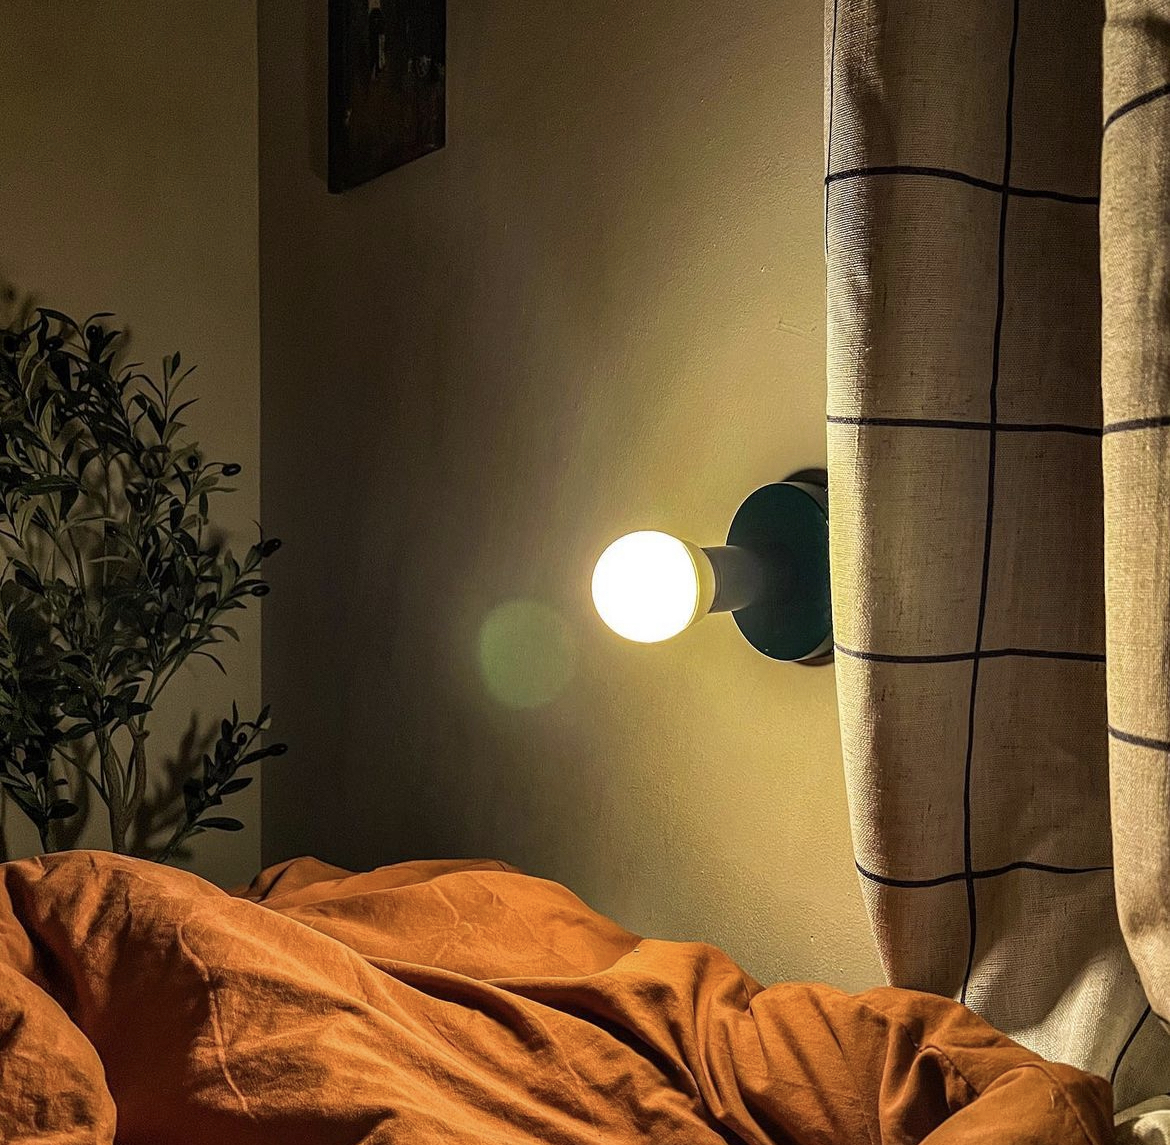
First things first: a wall sconce is basically a fancy term for a light fixture that’s mounted on a wall. These are crucial for creating ambiance, adding style, and brightening up those dark corners of your room. But here’s the kicker – traditional wall sconces often require drilling holes and messing with electrical wiring. Not exactly renter-friendly, right?
DIY Wall Sconces: The Renter’s Dream Come True

If you’re a renter itching to upgrade your lighting game without risking your security deposit, DIY wall sconces are your ticket to lighting nirvana. No holes, no wires, no landlord drama – just pure, stylish illumination.
Why Go DIY?
1.It’s ridiculously easy
2. Way more affordable than traditional options
3. No wires needed whatsoever
4. All you ACTUALLY need is a light bulb, a fixture, and some heavy duty double-sided tape
Ready to get started? Continue reading below or watch this IG reel of me doing the whole thing!
What You’ll Need

- A light fixture – I got mine off a store on Etsy called RetroLightStore. However, I recommend lightweight fixtures for better adhesion. If your fixture has some weight to it, make sure to apply a heavy duty mounting tape.
- LED light bulb (make sure it fits your fixture’s socket. You can find the size in the description of the product) – I got a rechargeable bulb that includes a remote control that turns it on/off and changes the color/intensity of the bulb.
- Double-sided foam tape – the stronger the adhesive, the better. My rookie mistake was not taking into account the weight of the bulb and fixture together and taped it with foam tapes which didn’t last very long.
- Leveling tool (or a tape measure and pencil if you don’t have one)
Step-by-Step Instructions


1.Use your leveling tool to mark where you want your sconce. I didn’t have one, so I used a soft tape measure, tape, and a pencil. However, I highly recommend investing on a leveling tool if you’re planning on doing a bunch of DIYs in the future (also a note to self!) Pro tip: eye level is usually a good bet.
2. Twist in that LED bulb into your fixture’s socket. Easy peasy.
3. Slap some double-sided adhesives on the back of your light fixture. Don’t be shy – more is more when it comes to keeping your sconce in place.
4. Carefully press your fixture onto the wall where you marked. Hold it there for a good minute to make sure it’s secure.
And voila! You’ve just DIY-ed a wall sconce!
One Major Setback
You need to keep recharging the LED bulbs once their batteries die. You can always place your wall sconce near an outlet for easier charging. However, if your wall sconce is mostly for decoration or you want the look of a cordless wall sconce, then this DIY is a no-brainer. Alternatively, plug-in wall sconces are also available!
If you end up doing this project, post a photo on Instagram and tag me @lelliestudio.s
Conclusion
There you have it! A super simple way to add some pizzazz to your walls. With this DIY wall sconce hack, you can transform your space in just a couple minutes.
Remember, the best part about this DIY project is that you can easily switch things up whenever the mood strikes. New apartment? No problem. Bored with your current style? Just peel off and start again. The lighting world is your oyster! Your Instagram feed (and your wallet) will thank you.
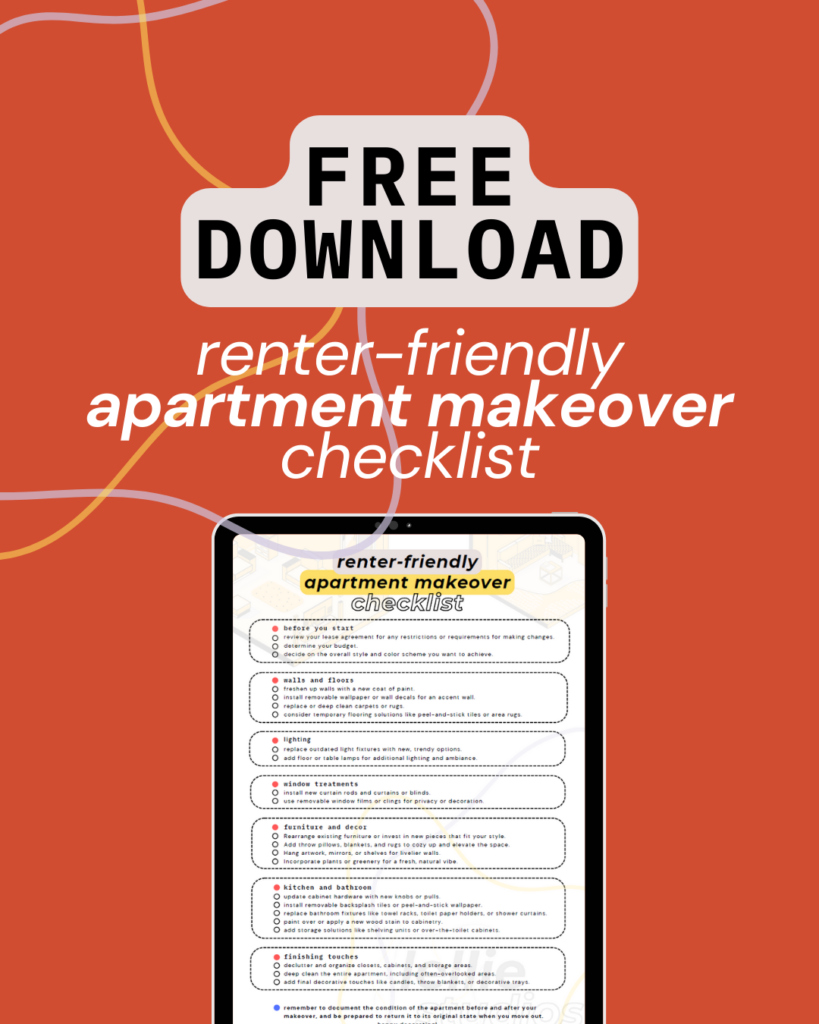
If you’re looking for more DIYs or wall decor ideas, check out this article on DIY-ing a large wall mirror!
Here are the links to the materials listed in this post:


Mr. Pen 25-ft Tape Measure
$8.49 on Amazon

Laser Self-Leveling Tool
$28.97 on Amazon

This site contains product affiliate links. We may receive a commission if you make a purchase after clicking on one of these links at no extra cost to you. Prices listed on this page are subject to change.


 what can you spot fro